Cloudflare Pages
Overview
- Cloudflare Pages is a JAMstack platform for frontend developers to collaborate and deploy websites.
- It supports Git integration for automated deployments. Just connect your GitHub or GitLab account, after that, it’s just git push and build and deploy will be automated.
- It supports collaboration for free.
- Preview early, preview often: automatically generated links for every commit make it easy to get feedback on the final result.
- Unlimited seats for free: additional collaborators shouldn’t break the bank. With Pages, you can add them all for free.
- Preview control: don’t post your drafts to the web. With Cloudflare Access integration, you have granular control over who’s accessing your previews.
- Built-in, free web analytics: Get real-time insight into your page with privacy-first analytics that you can share with your team.
- Speed, security, and scalability
- Fastest network: run your site on the Cloudflare edge, milliseconds from end users – up to 115% faster than competing platforms.
- Incredibly scalable: with one of the world’s largest networks, Cloudflare can absorb traffic from the most visited sites.
- Always secure: SSL works out of the box, so you never have to worry about provisioning certificates.
- Stay ahead of the curve: support for the latest web standards with HTTP/3, QUIC, image compression out of the box, and more.
Tiers
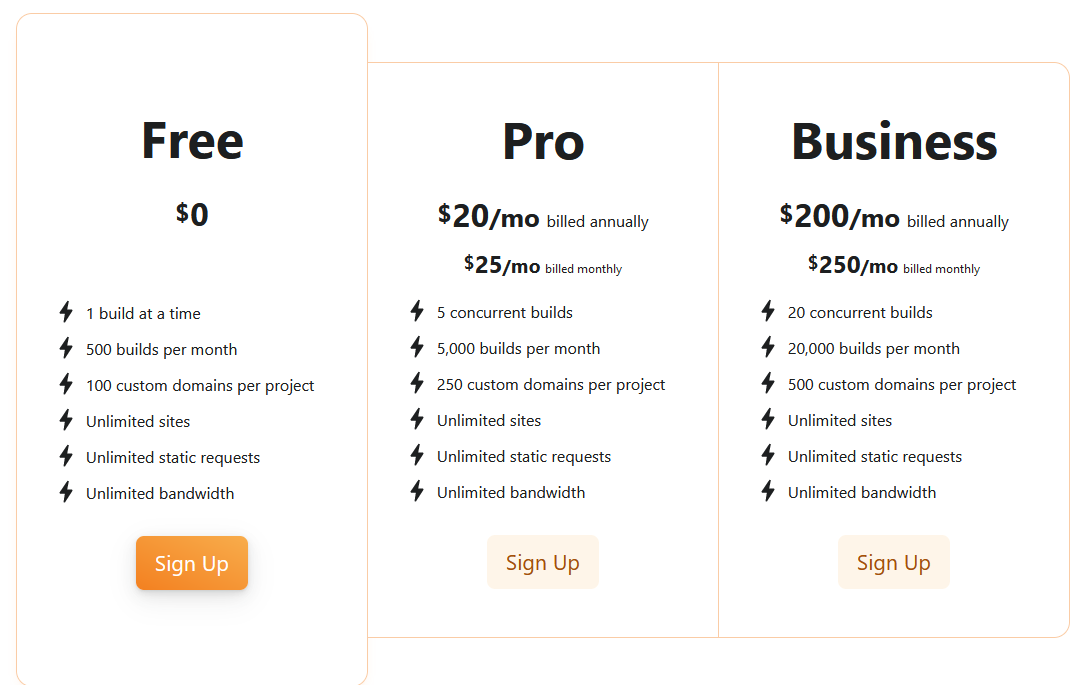
It supports 3 tiers with a generous free tier.
Configure Cloudflare Pages
- Navigate to the dashboard, Workers and Pages
- Select Pages
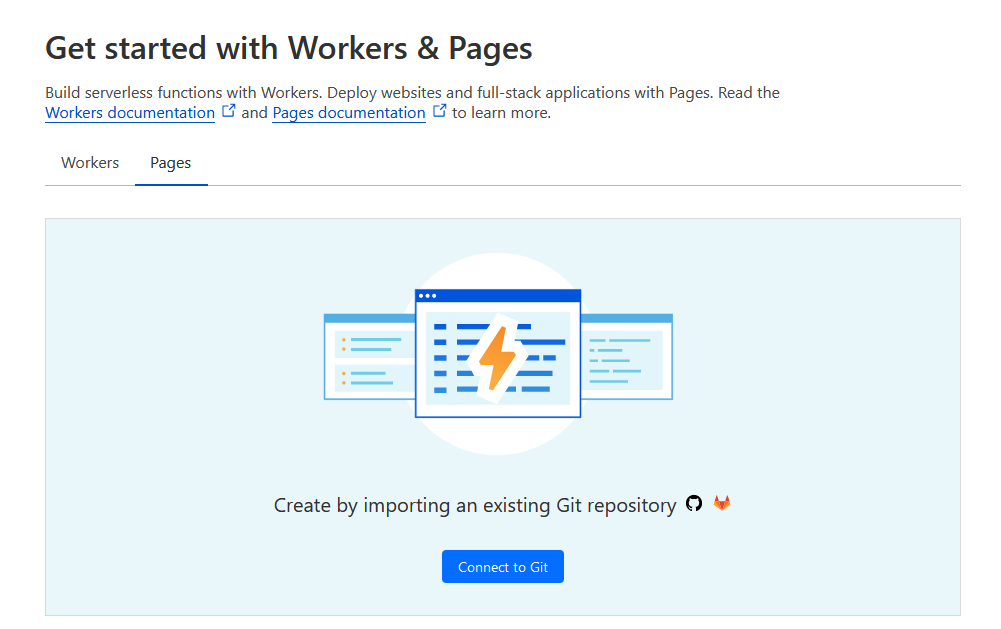
- Click on "Connect to Git" button.
- Connect to GitHub or GitLab.
- This guide will proceed with GitHub path. But GitLab shouldn't be much different.
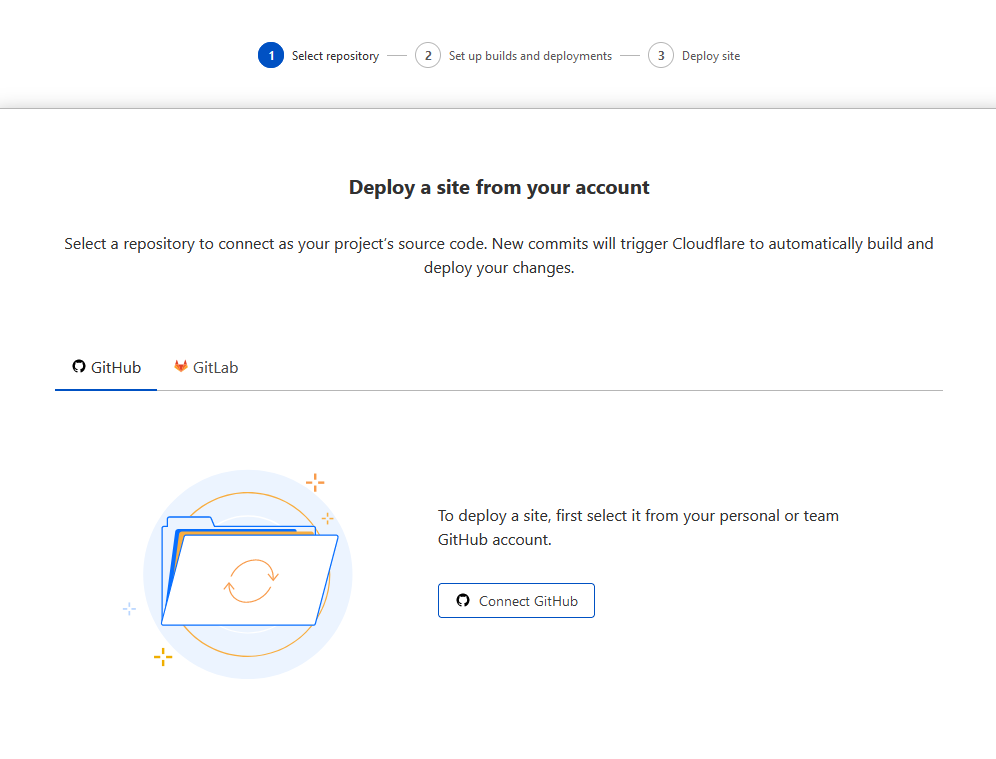
- This guide will proceed with GitHub path. But GitLab shouldn't be much different.
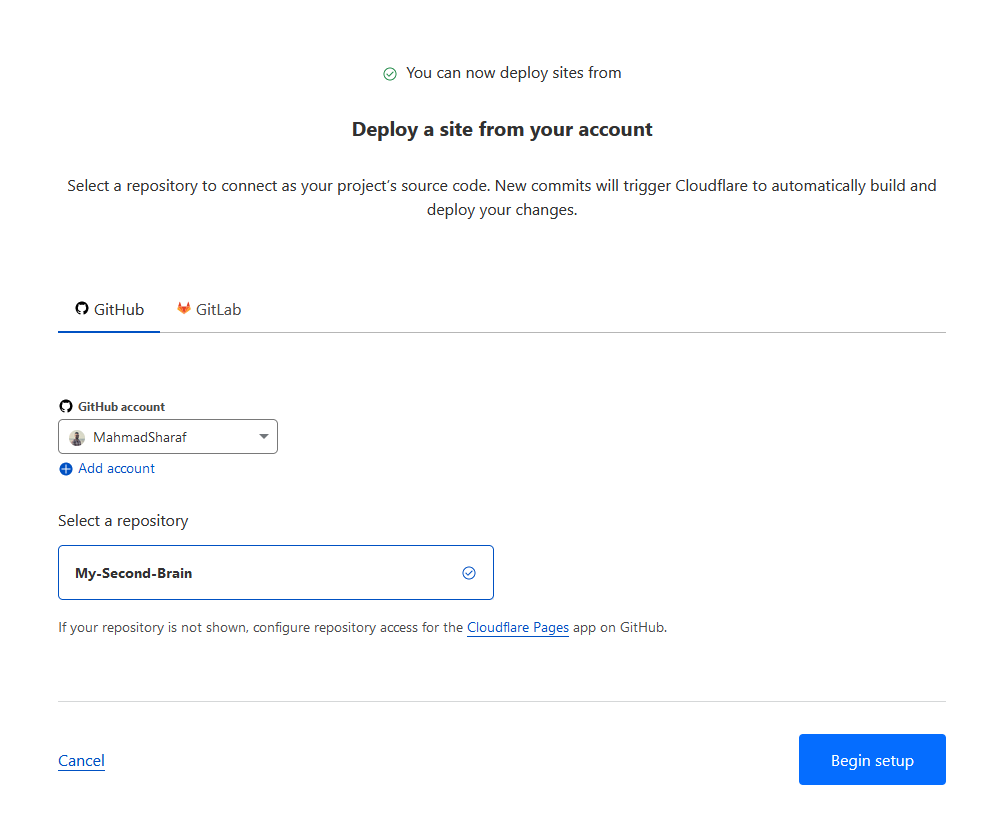
- After connecting your GitHub account, you will be need to choose the repo.
- If the repo doesn't appear in the dropdown menu, you may need to give access to Cloudflare Pages app.
- It is possible to give the app access to All repositories or selected repos.
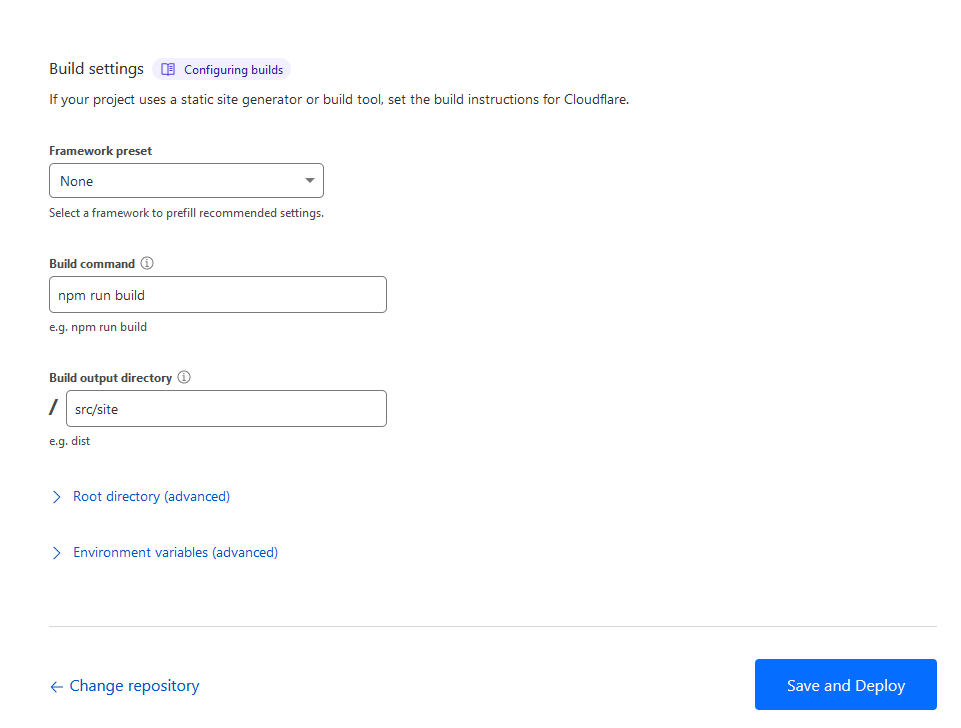
- Set build settings.
- According to the project Framework, you need to provide the Build Command.
- For the current example which deploys Digital Garden template, the configuration is as below.
- The build may fail due to the default NODE version is 12.
- [Recommended] Set build system version to
2. It is under:Workers and Pages Overviewin the dashboard- Choose your deployed, or to be deployed, application
- Navigate to
Settings Build and deploymentsBuild system version
- You can either set an environment variable
NODE_VERSIONWorkers and Pages Overviewin the dashboard- Choose your deployed, or to be deployed, application
- Navigate to
Settings Environment variables- Edit variables
- Add variable:
NODE_VERSION= 18.16
- [Recommended] Set build system version to